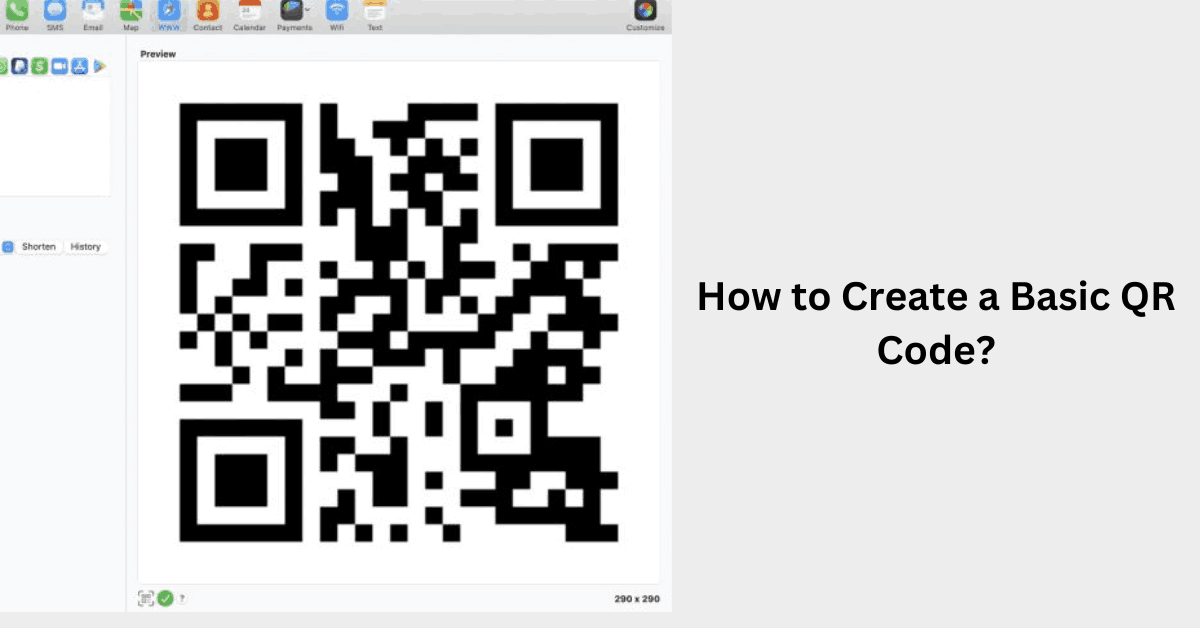
Quick Response (QR) codes have become ubiquitous in our digitally connected world, offering a seamless and efficient way to share information.
Whether you want to direct users to a website, share contact details, or provide quick access to a promotional offer, creating a basic QR code is a straightforward process.
In this step-by-step guide, we’ll walk you through the simple steps to generate your own QR code.
Table of Contents
Step 1: Determine Your QR Code Content
Before creating a QR code, define the content you want it to represent. Common uses include website URLs, text, contact information, or Wi-Fi network details. Knowing the type of content in advance helps streamline the process.
Step 2: Choose a QR Code Generator
Several online tools and apps make QR code creation easy. Choose a reliable QR code generator such as QR Code Generator, QR Stuff, or Google’s QR Code Generator. These tools offer a user-friendly interface and a variety of customization options.
Step 3: Select the Type of QR Code Content
Most QR code generators provide options for different types of content. Choose the type that aligns with your intended information, such as URL, text, contact, or Wi-Fi. Some generators also offer advanced options like email or geographic location.
Step 4: Enter the Relevant Information
Enter the specific information associated with your chosen content type. For a URL, input the website address. For text, enter the desired message. If you’re creating a contact QR code, fill in the contact details. The generator will convert this information into a QR code.
Step 5: Customize the QR Code (Optional)
Many QR code generators allow for customization to align with your branding or preferences. You can often change the color, add a logo, or choose a specific design. While customization is optional, it can make your QR code more visually appealing and recognizable.
Step 6: Generate and Download the QR Code
Once you’ve entered the information and customized the QR code to your liking, click the “Generate” or “Create QR Code” button. The generator will process your request, and you’ll be presented with the final QR code. Download the image to your computer or device.
Step 7: Test the QR Code
Before widely distributing your QR code, test it to ensure it works as intended. Use a QR code scanner on your smartphone or a dedicated QR code reader to check that it correctly directs users to the desired content.
Step 8: Distribute and Share
With your tested and functional QR code, you’re ready to share it with your audience. Include it in marketing materials, on business cards, or at physical locations to provide a convenient and quick way for users to access the information embedded in the code.
Tips for Creating Effective QR Codes:
- Use High-Quality Information: Ensure the content you encode in the QR code is accurate and high-quality. For URLs, use direct and easily readable links.
- Prioritize Contrast and Readability: If you choose to customize your QR code, ensure there is enough contrast between the code and background. This enhances readability for scanners.
- Test on Various Devices: QR codes should be compatible with a variety of devices and QR code reader apps. Test your QR code on different smartphones to ensure broad accessibility.
- Regularly Update Content: If your QR code directs users to changing content, such as promotions or events, update the information regularly to provide current and relevant details.
Creating a basic QR code is a user-friendly process that empowers businesses, individuals, and organizations to enhance connectivity and share information effortlessly. Whether for marketing purposes, contact sharing, or other applications, incorporating QR codes into your strategy can streamline interactions in our fast-paced, digital world.
